
A used tool sells more easily when the photos show its real condition. Blurry shots, missing angles, or pictures that hide wear create two problems: fewer serious inquiries and more friction once the buyer arrives. Clear, complete photographs set accurate expectations. They also protect the seller when a buyer later claims the tool was different from the listing.
I have sold and bought tools through Marketplace and local channels for years while clearing space in the garage and restoring older equipment. The listings that moved quickly and ended cleanly almost always had the same trait: the photos matched the tool in hand. The method below is the one I use. It requires no special studio and only a few minutes per tool.
Why Photos Matter More Than the Description
Most buyers scan images before they read the full text. A set of clear photos answers the first questions automatically: overall condition, visible damage, included accessories, and approximate size. A vague or incomplete set forces the buyer to ask those questions in messages, which slows the process and increases the chance of misunderstanding.
Photos also serve as a record. If a dispute arises after the sale, the original images show what was presented. This is useful for both sides. Honest photography is not only about attracting buyers. It is about finishing the transaction without later argument.
Common Photo Mistakes That Hurt Listings
Dark or blurry images hide detail. Single-angle shots leave the back, bottom, or critical wear points unseen. Photos that crop out power cords, batteries, or accessories create uncertainty about what is included. Heavy filters or staged lighting that make the tool look newer than it is often backfire when the buyer inspects it in person.
The goal is not professional product photography. The goal is accurate representation under ordinary lighting so the buyer is not surprised.
A Practical Sequence for Photographing Tools
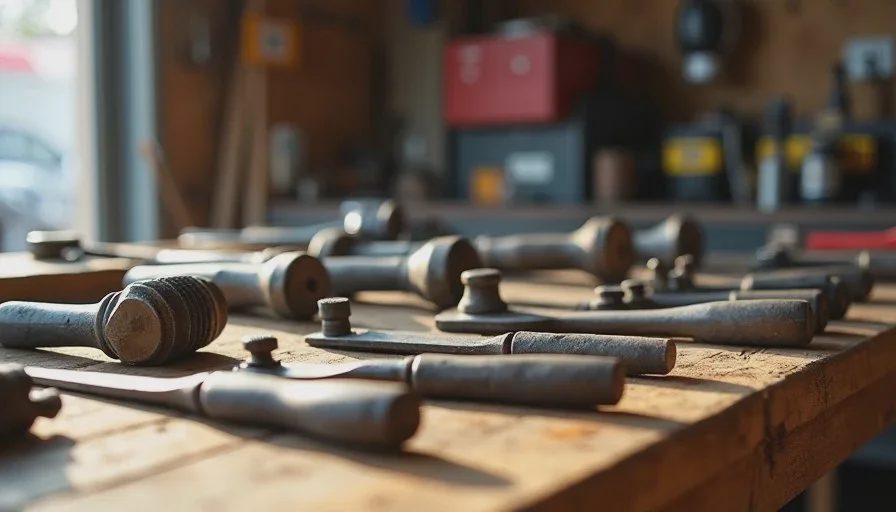
Work in a clean, well-lit space. Natural daylight near a garage door or window is usually sufficient. Avoid strong overhead shadows and direct harsh sun that creates glare on metal surfaces. A plain background—cardboard, a workbench surface, or a neutral floor—keeps attention on the tool rather than the surroundings.
Start with an overall shot that shows the entire tool from a slight angle. This establishes size and general condition. Follow with a straight-on view of the main working surface or brand plate. Then move closer for the details that matter: any cracks, rust, repaired areas, worn grips, or missing parts. If the tool has a power cord, battery, or case, photograph those clearly as well.
Include a simple scale reference when size is hard to judge. A common wrench, a tape measure, or even a hand in the frame can help. For power tools, a photo of the model and serial number plate is useful for buyers who want to verify compatibility or look up parts.
Angles That Prevent Later Disputes
Photograph every side that a careful buyer would want to see. The underside of a tool often shows more wear or repair history than the top. Cord condition, switch integrity, and chuck or blade mounting points are frequent sources of post-sale questions. Capturing them in the original listing removes the need for extra message exchanges.
If the tool has been modified or repaired, show the modification clearly. Attempting to hide it usually fails once the tool is in the buyer’s hands and creates unnecessary friction.
Lighting and Clarity Without Special Equipment
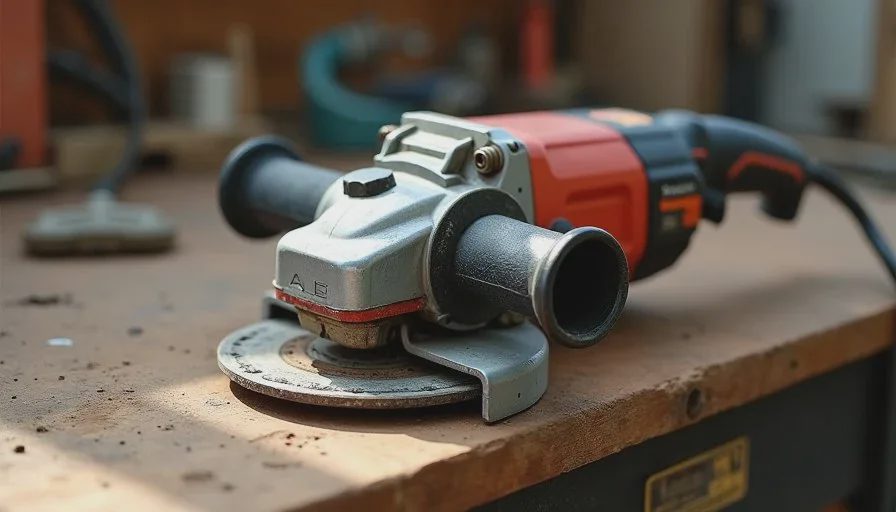
A clean window or open garage door provides soft, even light for most tools. If the space is dark, a single work light or even a phone flashlight bounced off a light-colored surface can fill shadows. The phone camera’s HDR mode often helps balance bright metal and darker grips.
Hold the phone steady or rest it on a stable surface. Tap to focus on the most important part of the tool—the cutting edge, the motor housing, or the area of visible wear. Take more photos than you need and select the clearest ones later. A slightly imperfect but honest image is more useful than a polished one that conceals condition.
Clean the tool lightly before photographing if dust or grease obscures important details. Do not attempt a full restoration just for the listing unless you are prepared to stand behind the improved appearance. The photos should reflect the tool as it will be handed over.
What to Show and What to Leave Out
Show every included accessory, battery, charger, case, or extra blade. Buyers assume that what is not pictured may not be present. If something is missing, state it in the description and avoid photos that imply otherwise.
Avoid staging the tool with unrelated items that suggest a higher value or different condition. A simple, consistent background across all photos in the listing looks more trustworthy than a variety of settings.
For sets of tools, photograph the full group together and then key individual pieces. This prevents confusion about how many items are included and what condition each one is in.
Preparing the Listing Around the Photos
Once the images are selected, write a short description that matches them. Note the brand, model if known, overall condition, and any defects visible in the photos. Mention whether the tool has been tested and what the result was. The text should reinforce the images rather than contradict or oversell them.
Price the tool in line with the condition the photos actually show. An optimistic price on a clearly worn tool generates tire-kickers and low offers. A realistic price supported by honest images attracts buyers who are ready to complete the deal.
The Payoff of Accurate Photography
Listings with complete, clear photos receive more serious inquiries and fewer last-minute objections at the meetup. The buyer already knows the major condition points. The conversation can focus on price, timing, and logistics instead of repeated requests for additional pictures. When the tool is handed over, the match between listing and reality reduces the chance of a disputed transaction.
The same practice benefits the next sale. A consistent approach to photographing tools builds a reputation for accurate listings, which makes future items easier to move.
A phone should help you make one less trip, miss one fewer job, and have one fewer argument. Clear tool photographs support that goal by reducing the back-and-forth, the surprises, and the failed meetups that create extra driving and unnecessary friction. Spend a few extra minutes on the images. The cleaner transaction that follows is usually worth the time.


No comments yet — be the first to share a thought.